I pulled up a kitchen floor last month in a Puyallup home built in 2009. The homeowner had installed engineered hardwood throughout the kitchen during a remodel 8 years ago. It looked beautiful in the showroom. By year 3, the boards near the dishwasher were swelling. By year 5, several planks had cupped and warped. By the time I got the call, the floor was buckling in three places and there was mold on the subfloor underneath.
Wrong material. Right budget. Wrong climate. That mistake cost the homeowner $4,800 the first time and $7,200 when I replaced it with LVP that can actually handle kitchen moisture.
Material selection is where most remodeling money gets wasted or saved. I’ve been in the trades for over 20 years, running Pacific Remodeling in Puyallup since 2018, and I’ve installed, repaired, and replaced every material on the market. Some hold up for 25 years. Others fall apart in 5. The difference usually comes down to matching the right material to the right application in the right climate.
This guide walks you through how to pick materials for every part of your remodel, with real costs, PNW-specific performance notes, and the honest opinions a salesperson at a home improvement store won’t give you.
The Three Questions That Drive Every Material Decision
Before you step into a showroom or browse a tile website, answer these three questions. They’ll cut your options in half and save you hours of indecision.
1. How much wear will this surface take?
A kitchen countertop gets used 3-5 times a day. A guest bathroom vanity might get used once a week. The material requirements are completely different. High-traffic surfaces need materials rated for durability. Low-traffic surfaces can prioritize aesthetics.
2. What’s the moisture exposure?
This matters more in the Pacific Northwest than almost anywhere else. Our humidity cycles, heavy rain, and crawl space moisture affect materials differently than a dry climate. A material that performs perfectly in Phoenix might fail in Puyallup within 5 years.
3. What maintenance will you actually do?
Not what you think you’ll do. What you’ll actually do 3 years from now when life is busy. If the honest answer is “minimal,” choose low-maintenance materials. Granite that needs annual sealing is fine if you’ll seal it. If you won’t, choose quartz that needs nothing.
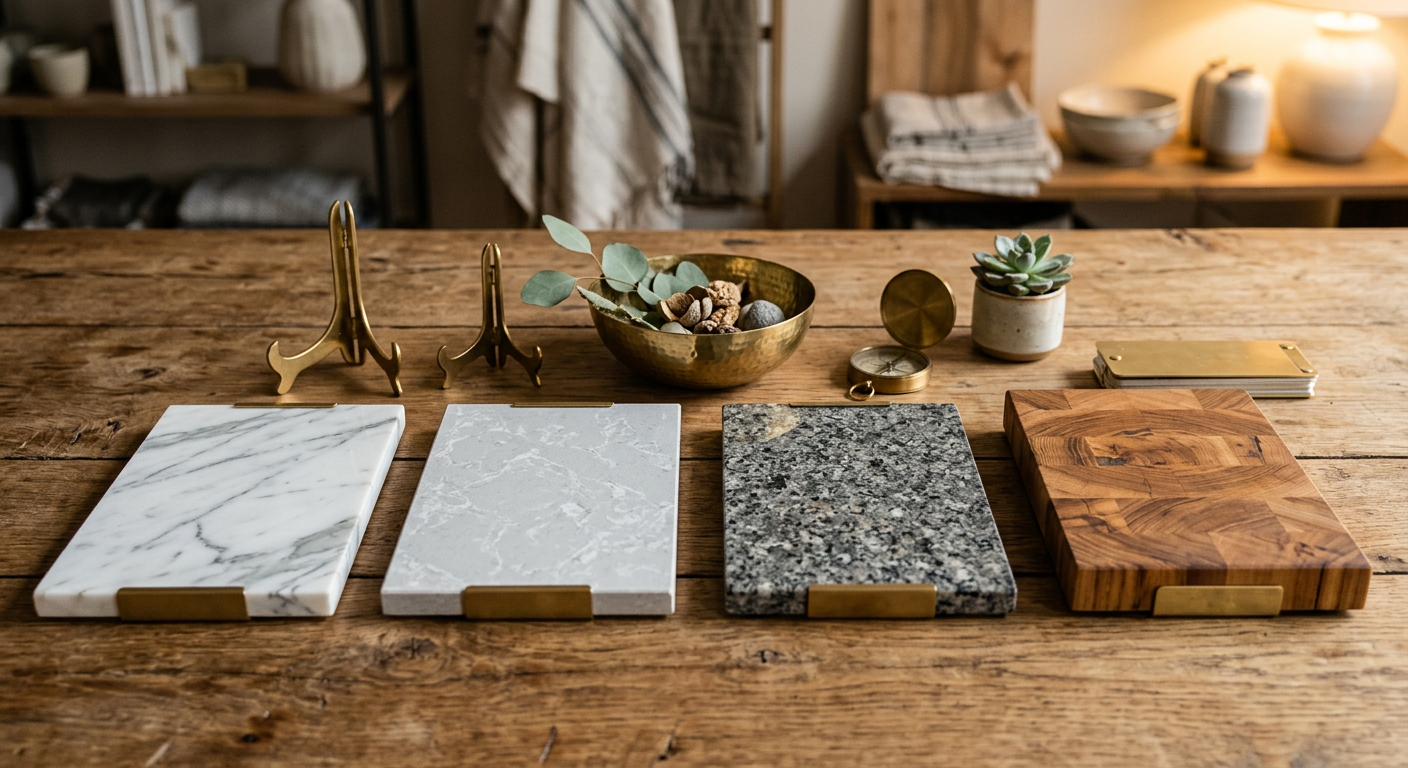
Countertop Materials: What Lasts and What Doesn’t
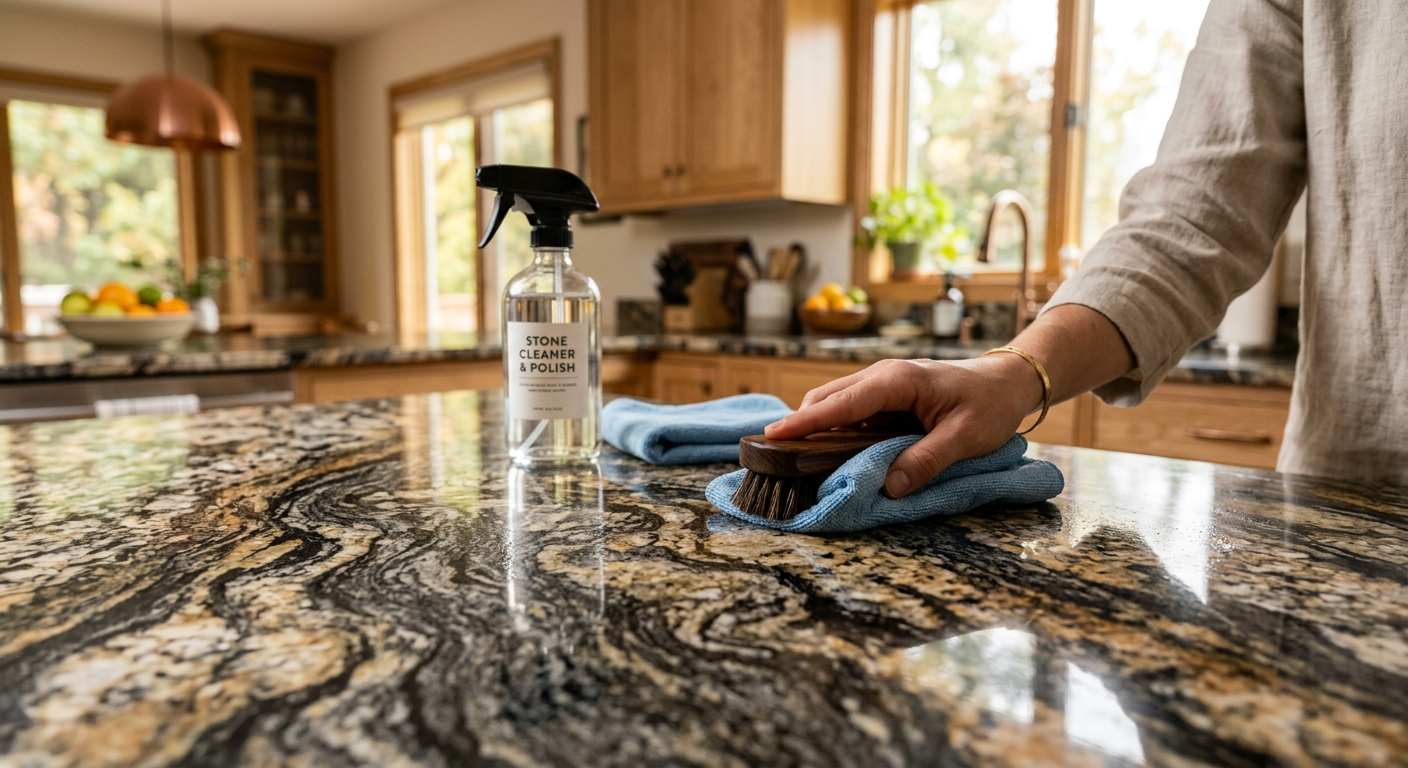
Your countertop is the most visible surface in a kitchen or bathroom. It’s also the surface that takes the most direct abuse: hot pans, sharp knives, acidic spills, and daily wiping.
| Material | Cost/Sq Ft (Installed) | Maintenance | PNW Performance | Lifespan |
|---|---|---|---|---|
| Quartz | $50 - $100 | None | Excellent | 20-25+ years |
| Granite | $45 - $95 | Annual sealing | Good (if sealed) | 20-30+ years |
| Marble | $60 - $120 | Regular sealing | Fair (staining risk) | 15-25 years |
| Laminate | $20 - $40 | None | Good | 10-15 years |
| Butcher block | $30 - $70 | Monthly oiling | Poor (swells in humidity) | 10-20 years |
| Solid surface | $35 - $75 | None | Good | 15-20 years |
My go-to: Quartz for kitchen countertops. Non-porous, zero maintenance, stain-proof, and available in patterns that look like marble, concrete, or natural stone. I install it in roughly 60% of my kitchen projects. The remaining 40% split between granite (for clients who want natural stone character) and laminate (for budget-focused projects).
The PNW factor: Porous materials like granite, marble, and butcher block require more diligent maintenance in our humid climate. I’ve seen unsealed granite develop mold in the micro-pores around kitchen sinks in homes where the homeowner forgot to reseal. Quartz and laminate don’t have this vulnerability.
For a full countertop comparison with costs, read my kitchen countertop buyer’s guide. For the quartz vs. granite matchup specifically, check my quartz vs. granite comparison.
Flooring Materials: Room-by-Room Recommendations
Flooring covers the largest surface area in any remodel. The wrong choice shows its problems quickly because you walk on it, spill on it, drag furniture across it, and clean it constantly.
| Material | Cost/Sq Ft (Installed) | Best For | Avoid In | PNW Performance |
|---|---|---|---|---|
| LVP (luxury vinyl plank) | $6 - $12 | Kitchens, bathrooms, basements | N/A | Excellent |
| Porcelain tile | $10 - $20 | Bathrooms, entryways, kitchens | Bedrooms (cold/hard) | Excellent |
| Hardwood | $10 - $18 | Living rooms, bedrooms, dining rooms | Kitchens, bathrooms, basements | Good (dry areas only) |
| Engineered hardwood | $8 - $14 | Living rooms, dining rooms | High-moisture areas | Moderate |
| Ceramic tile | $8 - $15 | Bathrooms, laundry rooms | High-traffic areas (softer than porcelain) | Good |
| Laminate | $4 - $8 | Bedrooms, offices, rentals | Kitchens, bathrooms (not waterproof) | Moderate |
Kitchen Flooring
I’ve installed every flooring material available in kitchens across Pierce County. Here’s what holds up:
LVP wins for kitchens. Waterproof, comfortable underfoot, scratch-resistant, and nearly indistinguishable from real hardwood. Modern LVP from brands like COREtec, LifeProof, or Mohawk handles dropped pots, spilled water, and dog nails without flinching. At $6-$12 per square foot installed, it’s also one of the most affordable quality options.
Porcelain tile is the toughest option. It handles everything a kitchen throws at it and lasts 30+ years. The trade-off is comfort. Tile is hard and cold underfoot. Adding radiant heat ($8-$12 per square foot extra) solves the cold factor but pushes the total to $18-$32 per square foot installed.
Hardwood is risky in kitchens. Water around the sink, dishwasher, and refrigerator is constant in a kitchen. Hardwood swells, cups, and warps when exposed to moisture over time. I’ve pulled up damaged hardwood in at least 30 kitchens over my career. Every single one had water damage near the sink or dishwasher. If you love the wood look, use LVP and save yourself the grief.
Bathroom Flooring
Bathrooms are wet environments. Period. Every material choice needs to account for constant moisture exposure.
Porcelain tile is king. It’s waterproof, durable, and available in endless sizes, colors, and patterns. Large-format porcelain (24”x24” or larger) reduces grout lines and creates a cleaner look. Pair it with radiant floor heat for the best bathroom flooring experience.
LVP works well in bathrooms with lower moisture (powder rooms, guest baths). For master bathrooms with heavy shower use, I prefer porcelain tile with proper waterproofing underneath.
Never use carpet in a bathroom. I still see this in older Pierce County homes. Carpet holds moisture, breeds mold, and is impossible to keep clean around a toilet. If your bathroom has carpet, replacing it is the first upgrade I’d recommend.
For a full comparison of LVP vs. hardwood, read my LVP vs. hardwood flooring guide.
Tile: The Material With the Most Decisions
Tile selection involves more choices than any other material category: size, material, color, pattern, grout color, grout width, layout pattern, and finish. Here’s how to navigate it.
Porcelain vs. Ceramic
Both are clay-based tiles, but porcelain is fired at higher temperatures, making it denser, harder, and more water-resistant. For wet areas (showers, bathroom floors, kitchen backsplashes), porcelain is the better choice. Ceramic works fine for backsplashes and wall applications where moisture exposure is lower.
| Property | Porcelain | Ceramic |
|---|---|---|
| Water absorption rate | Less than 0.5% | 3-7% |
| Hardness | 7-8 (Mohs) | 5-6 (Mohs) |
| Frost resistance | Yes | No |
| Cost per sq ft | $4 - $15 | $2 - $8 |
| Best for | Floors, showers, outdoor | Walls, backsplashes, dry areas |
Tile Size Matters
Large-format tile (12”x24” and larger) creates a modern, open look with fewer grout lines. Fewer grout lines means less maintenance, especially in the PNW where humidity accelerates grout mold. Large tile requires flat substrates and costs more to install because it’s heavier and requires more precision.
Standard tile (4”x4” to 12”x12”) offers more layout flexibility and lower installation cost. Subway tile (3”x6”) remains the most popular backsplash choice and likely will for another decade.
Mosaic tile (small tiles on a mesh backing) works for shower floors, accent strips, and decorative niches. It creates visual interest but has more grout lines to maintain.
Grout: The Part Everyone Forgets
Grout is actually more important than tile for long-term performance. Bad grout fails. When grout fails in a shower, water gets behind the tile, into the wall, and creates the moisture damage I described at the top of this article.
Epoxy grout is my standard for showers. It’s waterproof, stain-proof, and doesn’t require sealing. It costs 2-3 times more than cement grout and is harder to work with, but it lasts the life of the tile. The extra $300-$600 on a shower is worth it.
Cement grout needs sealing after installation and resealing every 1-2 years. Most homeowners skip the resealing. By year 5, the grout is absorbing moisture and staining. For dry applications (backsplashes, wall tile), cement grout is fine. For wet areas, I push hard for epoxy.
Cabinet Materials: What’s Inside Matters
Most homeowners focus on the cabinet door style and finish. That’s the visible part. But the box construction determines how long the cabinets actually last.
Plywood boxes are the gold standard. They resist moisture, hold screws well, and maintain their shape over time. Most semi-custom and custom cabinets use plywood construction. Cost: higher than particle board, but they last 25-30+ years.
Particle board boxes are cheaper and used in most stock cabinets. They work fine in dry conditions. But in a kitchen where moisture exposure is constant (steam from cooking, humidity from the dishwasher, occasional spills), particle board swells, delaminates, and eventually falls apart. In the PNW, I’ve pulled out particle board cabinets that were only 12 years old and were already failing around the sink and dishwasher.
MDF (medium-density fiberboard) falls between plywood and particle board in both cost and performance. It’s denser than particle board and holds up better to moisture, but it’s still not as resilient as plywood in high-moisture environments.
My recommendation: If you’re keeping cabinets for 15+ years, insist on plywood box construction. The $2,000-$4,000 premium over particle board pays for itself in longevity. If your budget is tight and you’re planning to upgrade again in 7-10 years, particle board stock cabinets are an acceptable compromise.
For a deep dive into the cabinet decision, read my cabinet refacing vs. replacing guide.
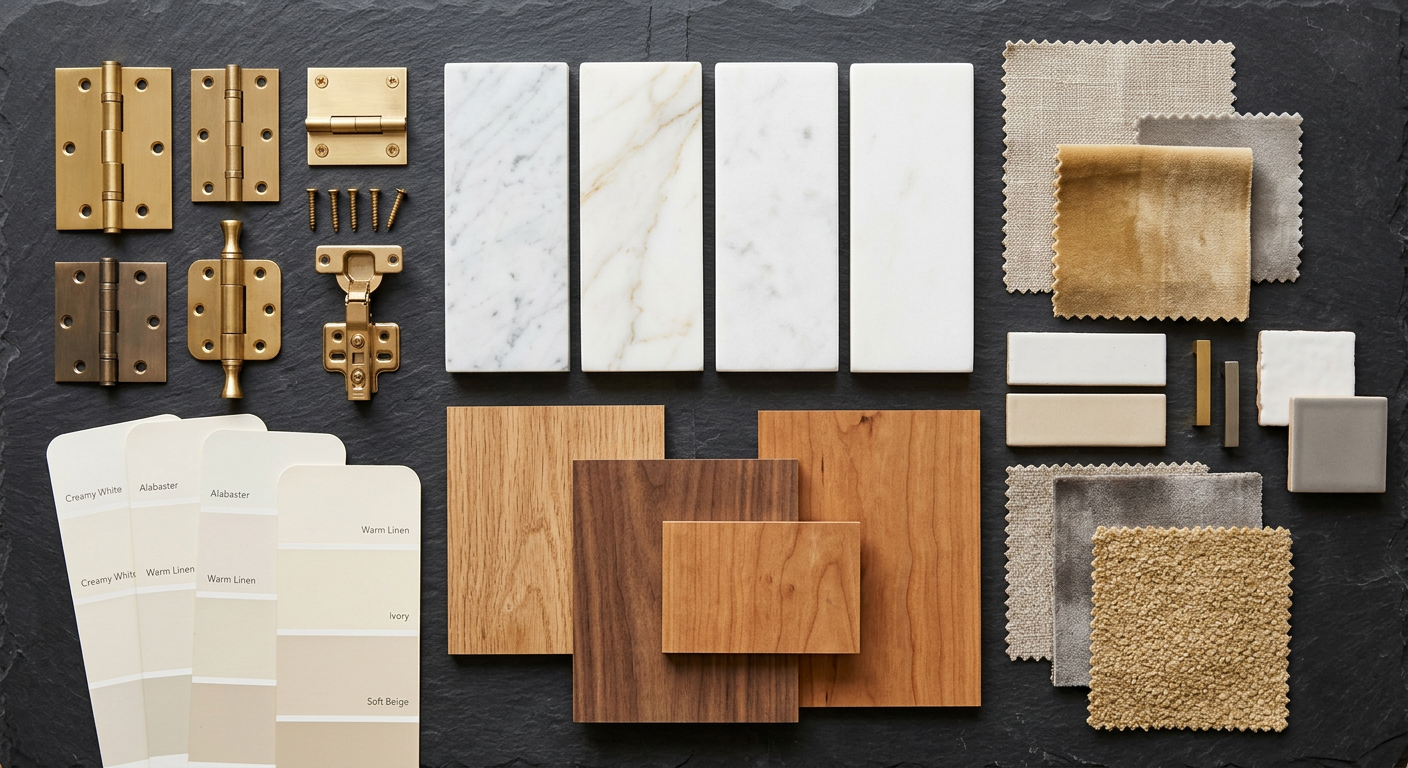
Fixtures and Hardware: Where Small Budgets Make Big Impact
Faucets, cabinet hardware, showerheads, and light fixtures are the details that make a remodel feel polished. They’re also where budget-conscious homeowners can get the most visual impact per dollar spent.
Faucets: $200-$800 for a quality kitchen faucet. I install Moen and Delta on most projects because they perform reliably, look good, and have solid warranties. A $400 Moen faucet lasts 15+ years. A $75 no-name faucet leaks within 3. Don’t cheap out here.
Cabinet hardware: $3-$15 per pull or knob. For a kitchen with 25-30 pieces of hardware, that’s $75-$450 total. New hardware on existing cabinets is the single most cost-effective visual upgrade in a kitchen. Brushed nickel, matte black, and brushed gold are the current favorites.
Showerheads: $100-$400 for a quality rain head with handheld combo. This is the most requested shower fixture setup in my bathroom remodels. Brands like Moen, Delta, and Kohler all make reliable options.
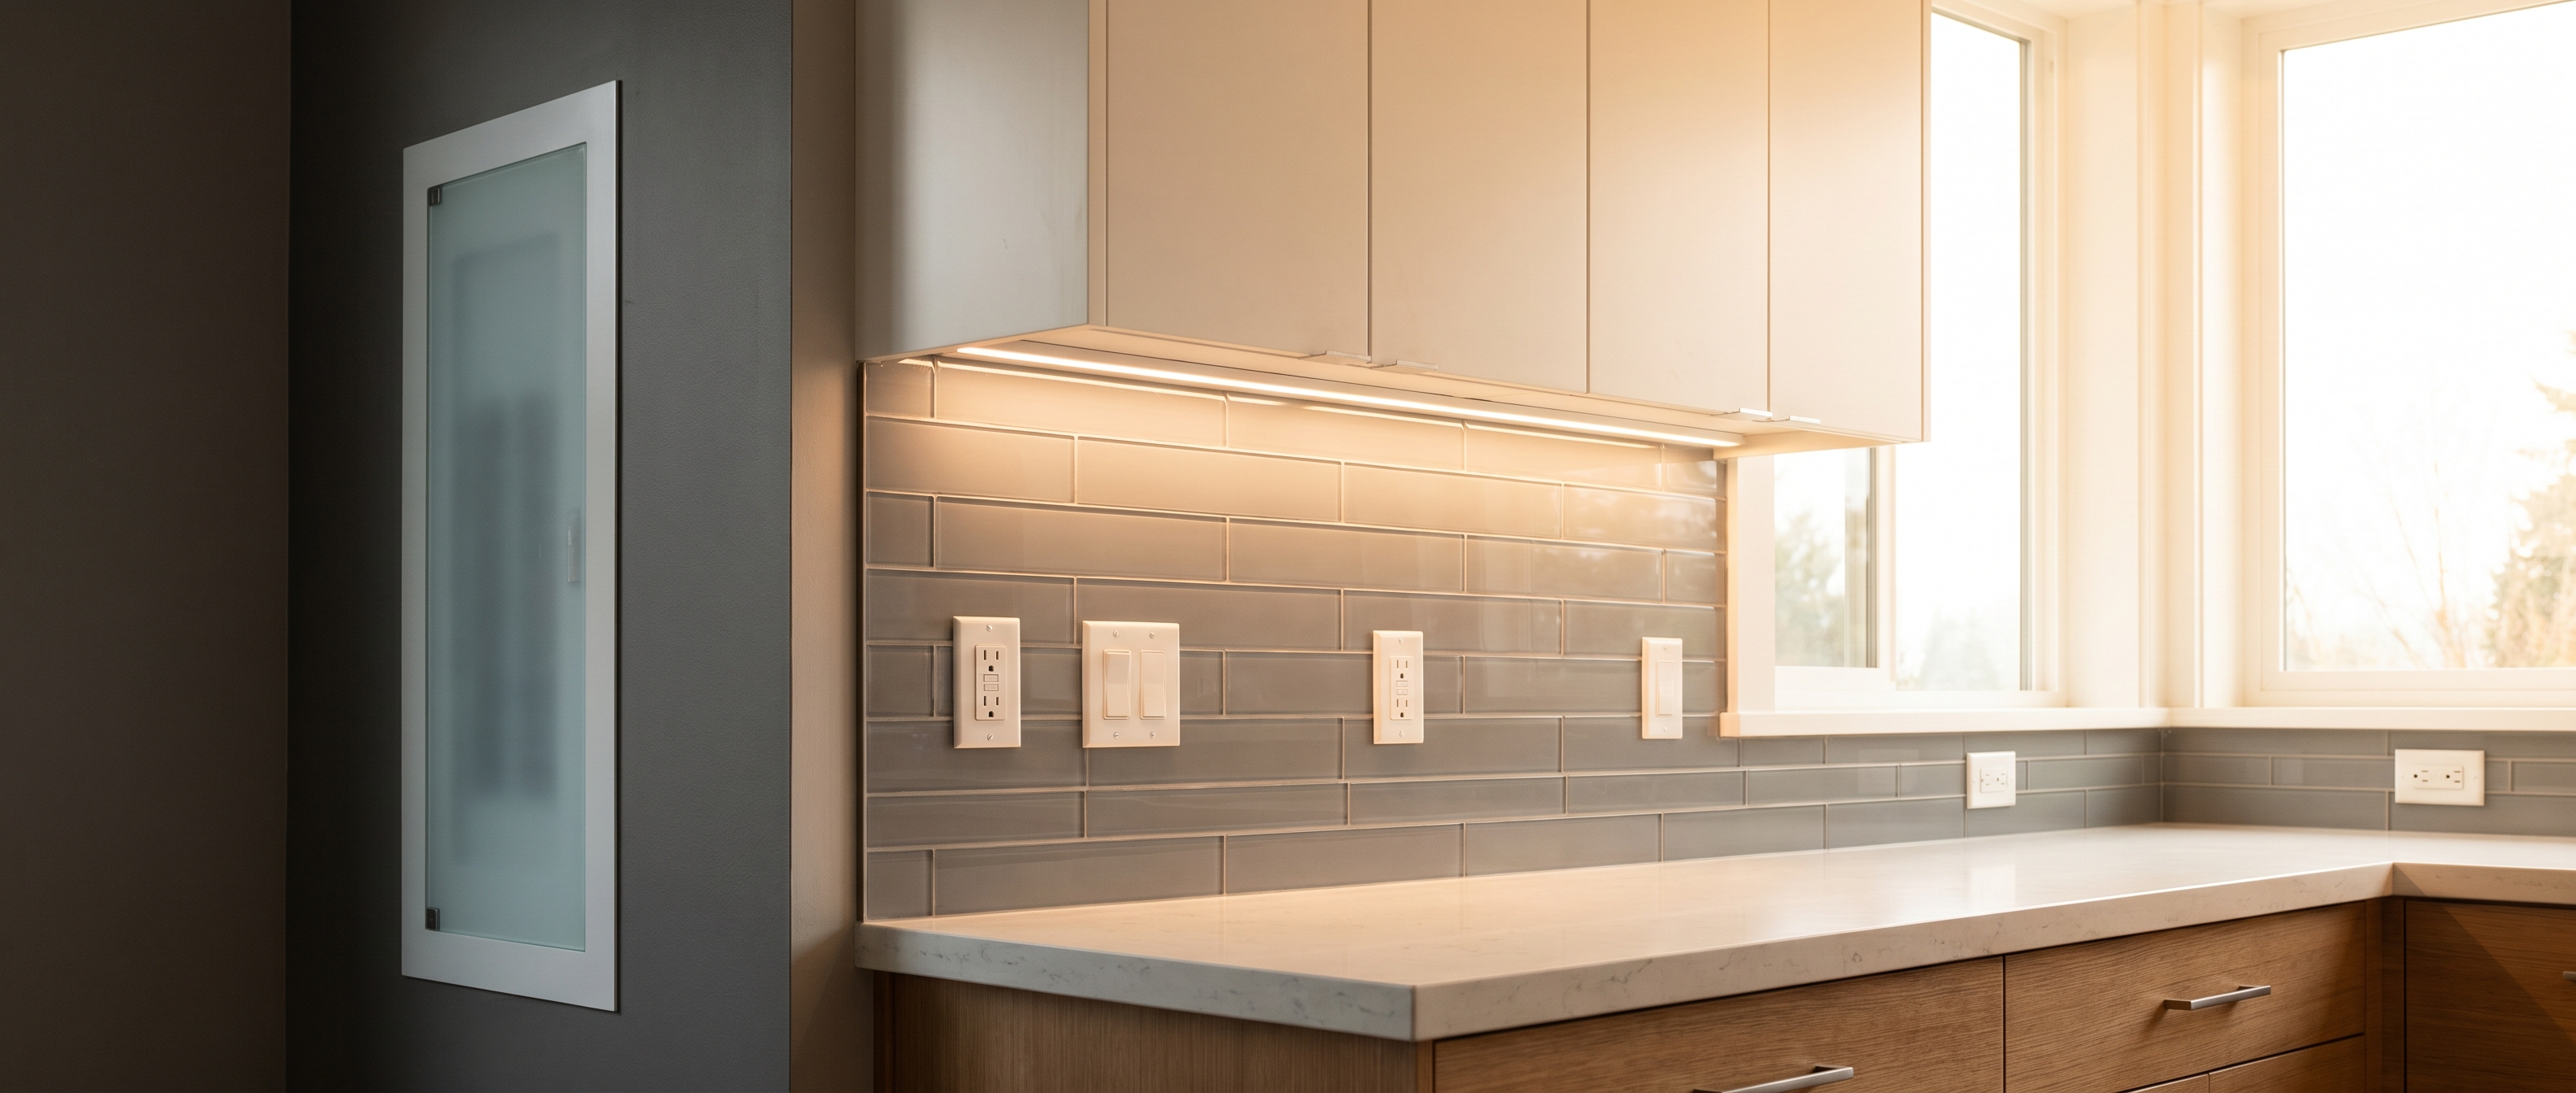
Light fixtures: $50-$500 per fixture depending on style. Recessed LED cans run $150-$300 each installed. Pendant lights over an island run $100-$400 each plus installation. Under-cabinet LED strips run $500-$1,500 total. Good lighting makes every other material in the room look better.
PNW-Specific Material Considerations
Living in the Pacific Northwest creates material performance issues that don’t exist in drier climates. Here’s what I account for on every Pierce County project:
Moisture resistance is priority #1. I steer clients away from porous materials in wet areas whenever possible. Non-porous options (quartz countertops, porcelain tile, LVP, epoxy grout) outperform their porous alternatives in our climate every time.
Crawl space moisture affects flooring choices. Many Pierce County homes have vented crawl spaces with moisture issues. This moisture migrates up through the subfloor. Hardwood floors installed over a damp crawl space will cup and buckle. LVP and tile aren’t affected because they don’t absorb moisture. If your crawl space has moisture problems, address them before installing new flooring.
Exterior wall condensation. In winter, the temperature difference between indoor heated air and cold exterior walls creates condensation inside the wall cavity. Materials installed against exterior walls (bathroom tile, kitchen backsplash) need proper moisture barriers behind them. I use cement board and waterproofing membrane on every exterior wall application, not just in showers.
UV exposure varies. South-facing windows in Pierce County get significant sun, especially during summer. Materials that fade or yellow with UV exposure (some quartz colors, lower-quality LVP) should be avoided in direct-sun locations or paired with UV-filtering window treatments.
How to Balance Budget and Quality
Not every surface in your remodel needs the premium option. Smart budget allocation means spending more where it matters and less where it doesn’t.
Spend more on:
- Countertops (you touch them every day, and they’re the first thing buyers notice)
- Shower waterproofing and tile (a failed shower costs $10,000+ to fix)
- Faucets and fixtures (cheap ones leak and break)
- Flooring in wet areas (water damage is expensive)
Save on:
- Backsplash tile (subway tile at $2-$4 per square foot looks great)
- Cabinet interior hardware (basic pull-out organizers work as well as premium ones)
- Bathroom accessories (towel bars, toilet paper holders, robe hooks)
- Paint (mid-range paint performs nearly as well as premium in most applications)
A client in Sumner told me this approach changed her remodel. She upgraded from laminate to quartz on the counters and from ceramic to porcelain in the shower, but chose standard subway tile for the backsplash and mid-range fixtures throughout. The kitchen looks high-end. The budget stayed reasonable at $52,000 for a full kitchen and bathroom remodel.
Frequently Asked Questions
What remodeling materials have the best long-term value?
Quartz countertops, porcelain tile, plywood-box cabinets, and LVP flooring offer the best combination of durability, low maintenance, and longevity in the Pacific Northwest. These materials resist our humidity, handle daily wear, and still look good after 15-20 years.
How do I choose between similar materials?
Get samples and live with them for a week. Set tile samples on your bathroom floor. Lay countertop samples on your existing counter. Look at them in morning light, evening light, and artificial light. The material that looks good under all conditions is the right choice. Showroom lighting flatters everything. Your home lighting tells the truth.
Should I always buy the most expensive option?
No. The most expensive option is usually 20-30% better than the mid-range option, but at 50-100% more cost. The sweet spot for value is typically the mid-range of any material category. A $65-per-square-foot quartz countertop performs almost identically to a $100 one. The extra cost buys you a more exclusive pattern, not better performance.
What materials should I avoid in the Pacific Northwest?
Untreated or unfinished wood in wet areas. Standard laminate flooring (not waterproof) in kitchens and bathrooms. Porous natural stone that won’t be maintained (unsealed marble, travertine). Low-density particle board cabinets in high-moisture zones. Cement grout in showers without commitment to annual resealing.
How much do material upgrades add to a remodel?
Upgrading from builder-grade to mid-range materials typically adds 15-25% to a remodel budget. Upgrading from mid-range to premium adds another 20-40%. For a $40,000 kitchen remodel, the material tier difference between budget and mid-range is roughly $6,000-$10,000. Between mid-range and premium, it’s another $8,000-$16,000. Choose the tier that matches both your budget and your maintenance willingness.
Let’s Pick the Right Materials for Your Project
I bring material samples to every consultation so you can see them in your actual space, under your lighting. That’s the only way to make a confident decision. I’ll walk you through the trade-offs for each option and give you honest advice about what works best for your specific project.
Call me at (253) 392-9266 or reach out through our contact page. I’ll get back to you within one business day.
Brad Zemke, Owner Pacific Remodeling LLC Puyallup, WA