A homeowner in Bonney Lake told me something last year that stuck with me. She said, “I spent six months reading about bathroom remodels online and I was more confused at the end than when I started.” She’d found pages of generic advice about choosing tile and picking vanity colors, but nothing that told her what a bathroom remodel actually involves from start to finish in a real home, in a real market, with real money on the line.
That’s why I wrote this guide. Not to sell you on a bathroom remodel, but to give you the same information I share with every client who sits at my kitchen table for the first time.
I’m Brad Zemke, owner of Pacific Remodeling here in Puyallup. I’ve been in the trades for over 20 years, a third-generation carpenter, and I’ve been running this business in Pierce County since 2018. My Air Force background taught me to follow the checklist and never cut corners. That’s how I approach every project.
What a Bathroom Remodel Costs in Pierce County
Let me give you the real numbers first, because this is what everyone wants to know. These are 2026 prices from actual projects I’m quoting and building right now:
| Project Type | Cost Range | Timeline |
|---|---|---|
| Cosmetic refresh (vanity, fixtures, paint, mirror) | $8,000 - $16,000 | 1-2 weeks |
| Tub-to-shower conversion | $13,000 - $29,000 | 2-3 weeks |
| Mid-range full remodel | $20,000 - $40,000 | 4-6 weeks |
| High-end master bath | $40,000 - $56,000+ | 6-10 weeks |
| Adding a new bathroom | $25,000 - $50,000+ | 8-12 weeks |
If those numbers are higher than you expected, you’re not alone. Most homeowners walk into a consultation expecting to spend $10,000-$15,000 on a full remodel. That’s the number Google and bathroom remodel calculators give you. Those calculators don’t account for Pierce County labor rates, the age of your home, permit requirements, or the reality of what’s behind your walls.
For the complete cost breakdown with real project examples, read my detailed bathroom remodel cost guide.
Planning Your Bathroom Remodel: Where to Start
Planning separates smooth projects from disasters. I’ve seen homeowners who planned well finish on time and on budget. I’ve also seen people skip the planning phase, change their mind three times during construction, and end up spending $12,000 more than they intended. Here’s the planning sequence that works.
Step 1: Define What You Actually Need
Ask yourself these questions before you call anyone:
- Is this a cosmetic update or a full gut? If the layout works and the plumbing is fine, a cosmetic refresh saves you tens of thousands.
- Do you need to change the layout? Moving the toilet, shower, or vanity means moving plumbing. Moving plumbing costs $2,000-$5,000 per fixture depending on how far it needs to go and what’s below the floor.
- Is accessibility a concern now or in the future? If you plan to age in your home, building in grab bars, a curbless shower, and a comfort-height toilet now is far cheaper than retrofitting later. I wrote a full guide on aging-in-place bathroom remodeling.
- What’s your non-negotiable? For some clients it’s heated floors. For others it’s a double vanity. For many it’s getting rid of the bathtub they never use. Knowing your must-have keeps the project focused.
Step 2: Set a Realistic Budget
Take the number in your head and add 15-20% for contingency. In a bathroom, the surprises usually come from behind the tile. I’ve pulled tile off shower walls and found rotted studs, failed waterproofing, and mold behind drywall that looked perfectly fine from the front. You can’t predict this until demo day. A contingency fund means those surprises don’t kill your project.
Step 3: Build a Timeline
A mid-range bathroom remodel takes 4-6 weeks of construction. But the timeline starts long before that:
Weeks 1-3: Material selection. Tile, vanity, countertop, fixtures, shower door, lighting, hardware. Every decision you haven’t made by construction start is a potential delay.
Weeks 2-4: Order materials. Custom vanities take 3-6 weeks. Specialty tile can take 4-8 weeks. Frameless glass shower doors take 2-3 weeks after templating.
Week 4-5: Permits (if needed). Your contractor files the permit application with the city. In Puyallup, plan on 1-2 weeks for approval.
Weeks 5-10: Construction. Demo, rough plumbing and electrical, waterproofing, tile, vanity installation, fixtures, glass, paint, and punch list.
The most common timeline killer? Material delays. If you fall in love with a tile that’s back-ordered for 6 weeks, your whole project slides. Pick materials early and confirm availability before your contractor commits to a start date.
Hiring the Right Contractor
This is the most important decision in your entire bathroom remodel. A skilled contractor delivers a bathroom that works and lasts. A bad one delivers headaches, cost overruns, and work you’ll need to redo in five years. Here’s how to tell the difference.
The Non-Negotiables
Licensed, bonded, and insured. In Washington State, verify the contractor’s license at lni.wa.gov. My license number is PACIFRL814J4. Every legitimate contractor will give you theirs without hesitation. If they dodge the question, walk away.
A detailed written estimate. You should see line items for demo, plumbing, electrical, waterproofing, tile, vanity, fixtures, glass, paint, permits, and cleanup. A vague one-line bid is a red flag. The detail protects both of you.
References you can actually call. Not just photos on a website. Names and phone numbers of past clients. Call them. Ask about communication, timeline accuracy, and how the contractor handled problems. Problems happen on every project. What matters is the response.
Clear change order policy. Before signing anything, ask: “What happens when we find something unexpected behind the walls?” A good contractor will explain how change orders are documented, priced, and approved before any additional work begins.
Red Flags to Watch For
The lowest bid by a wide margin. If one contractor bids $15,000 and three others bid $25,000-$30,000, that low bid is missing something. Either they’re leaving scope out of the estimate, they’re planning to use cheap materials, or they’re going to hit you with change orders once the project starts. I’ve fixed more than a few bathrooms where the homeowner chose the cheapest contractor and paid twice.
No contract or vague contract. If a contractor wants to start work on a handshake, run. The contract should specify the scope of work, materials, timeline, payment schedule, change order process, and warranty. It protects you.
Pressure to sign immediately. Any contractor who says “this price is only good today” is using a sales tactic, not giving you a fair estimate. A good price is good next week too.
Can’t show past bathroom work. Some general contractors do mostly exterior work, additions, or other specialties. Bathroom remodeling is its own skill set. Waterproofing, tile work, plumbing coordination, and working in tight spaces all require specific experience. Ask to see 3-5 completed bathroom projects.
Questions to Ask Every Contractor
- How many bathroom remodels have you completed in the last 12 months?
- Who does your tile work? (In-house or subcontracted?)
- What waterproofing system do you use?
- How do you handle permits and inspections?
- What’s your warranty on labor?
- Can I see your insurance certificate?
- Who is my daily point of contact during the project?
I answer all of these in every consultation. Any contractor worth hiring will too.
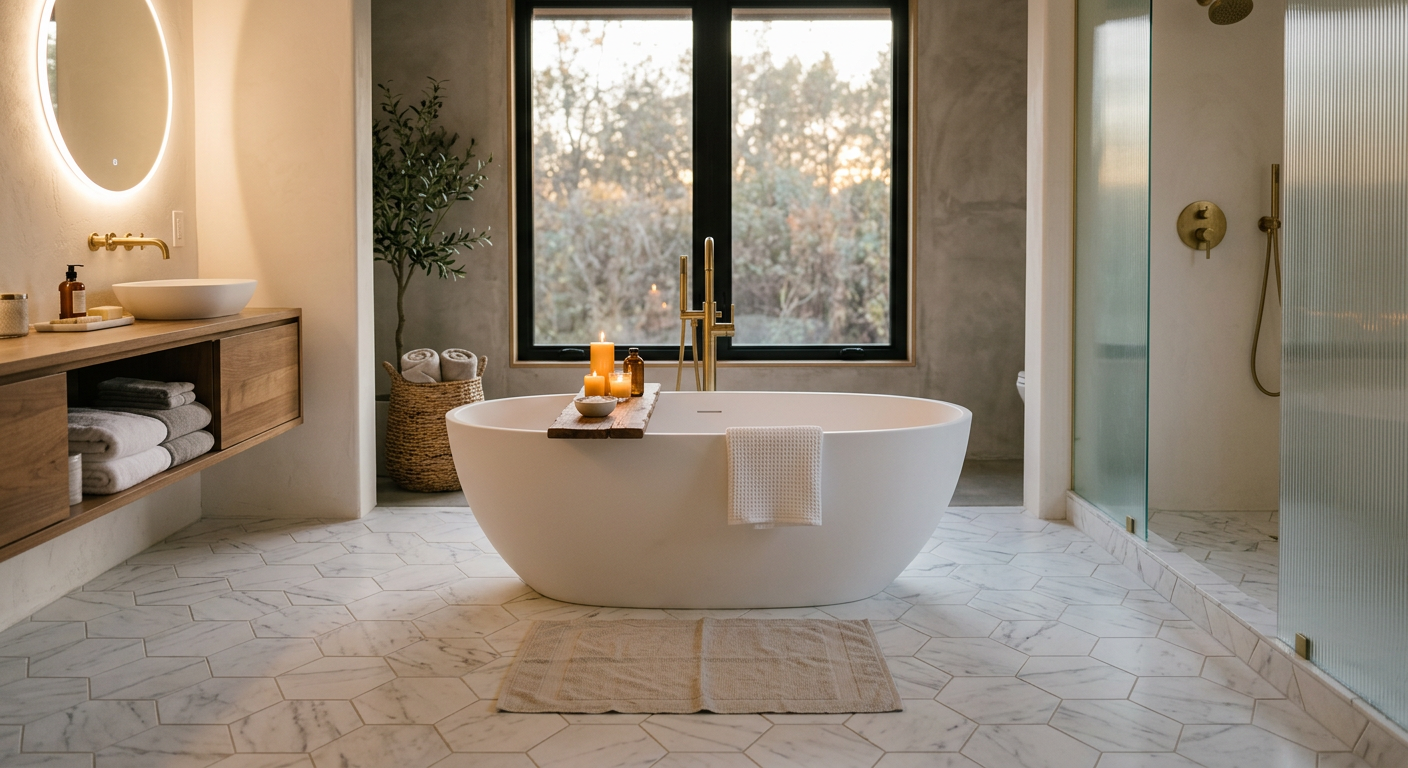
Luxury Features Worth Considering
Not every upgrade is worth the money. But some bathroom features deliver comfort and value that far outweigh their cost. Here are the ones I recommend most often.
Heated Floors
Electric radiant heat under tile costs $1,300-$2,500 installed. You step out of the shower onto a warm floor instead of cold tile. In the Pacific Northwest, this isn’t luxury. It’s sanity. The system costs about 35 cents per day to operate, and it lasts the life of the floor. I install heated floors on about 40% of my bathroom remodels now, up from maybe 10% five years ago.
Walk-In Showers
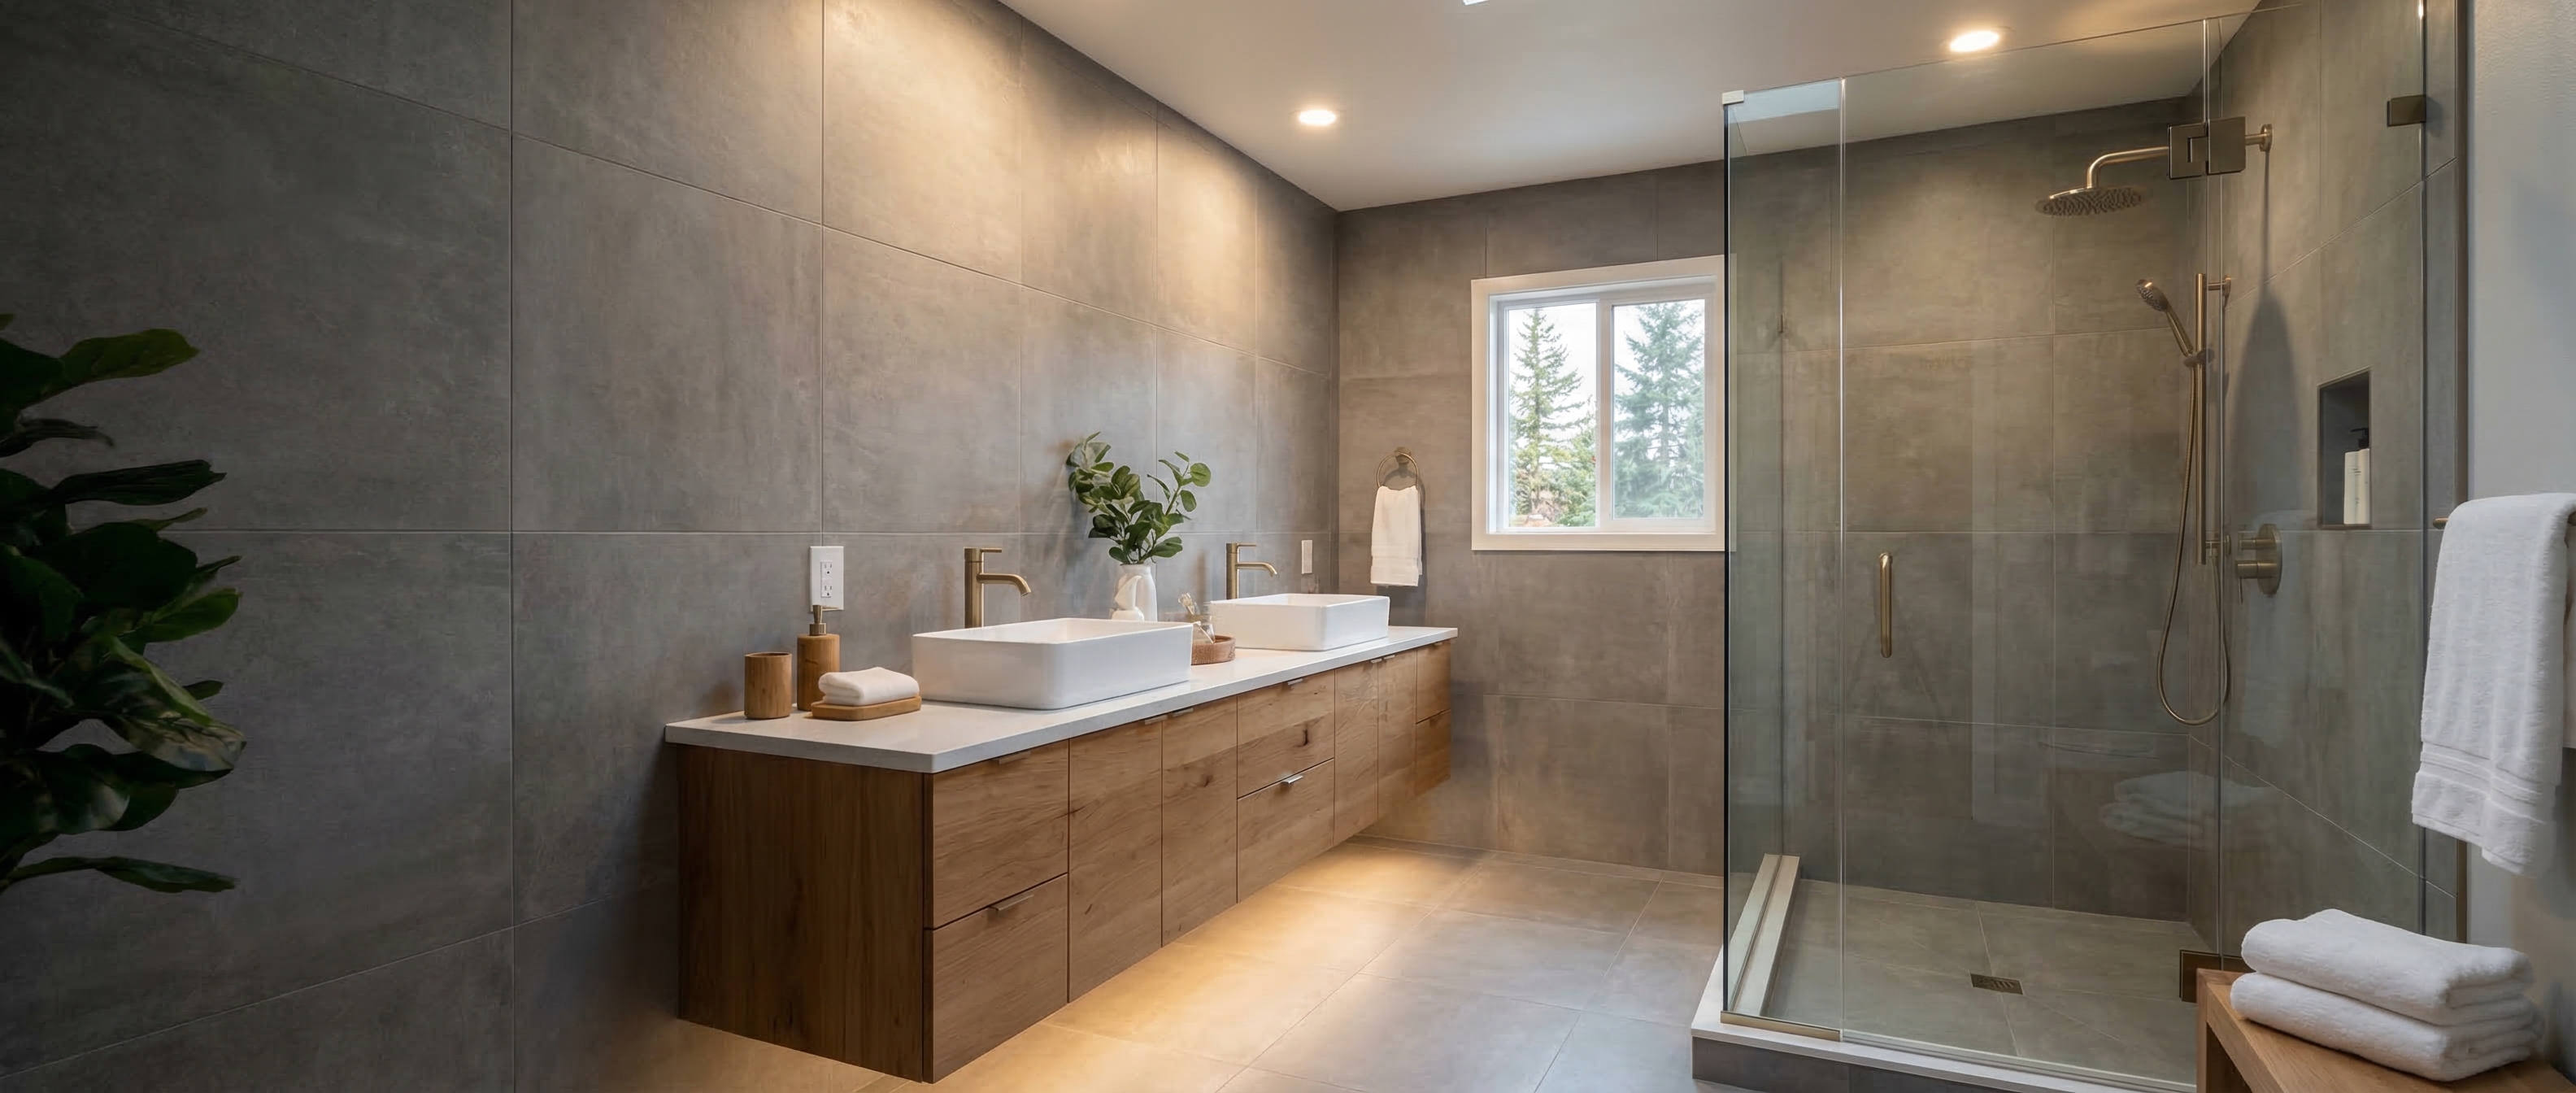
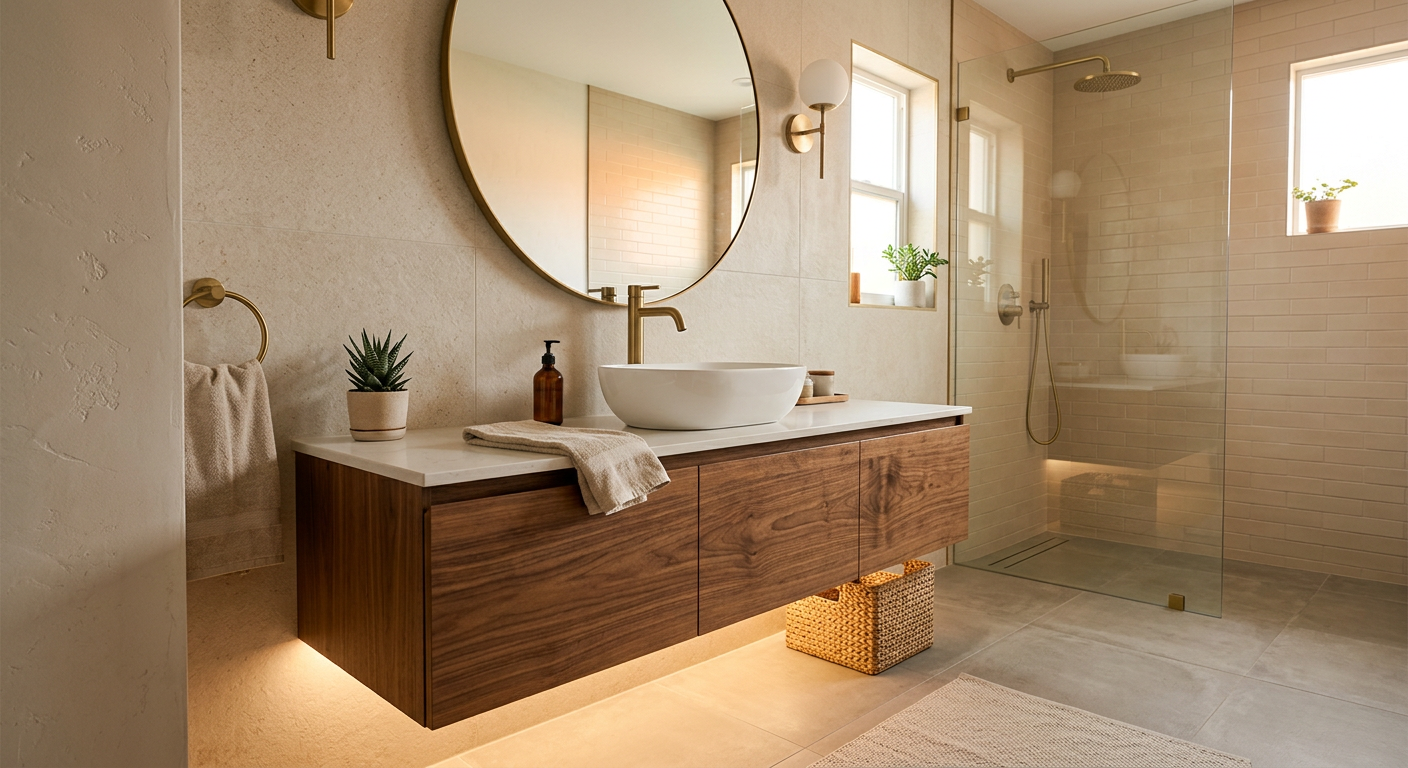
The bathtub-to-shower conversion is my most requested project. Most homeowners don’t use their bathtub. They shower. A walk-in shower gives you more room, easier access, a more modern look, and better resale appeal. A well-built tile shower with frameless glass costs $13,000-$29,000 depending on size and materials. For detailed options and pricing, read my walk-in shower ideas and costs guide.
Frameless Glass Enclosures
A frameless glass shower door costs $1,200-$3,000 installed. It eliminates the aluminum frame that traps water, mold, and soap scum. The shower feels bigger and brighter. It looks clean. And it’s easier to maintain long-term than a framed or sliding door.
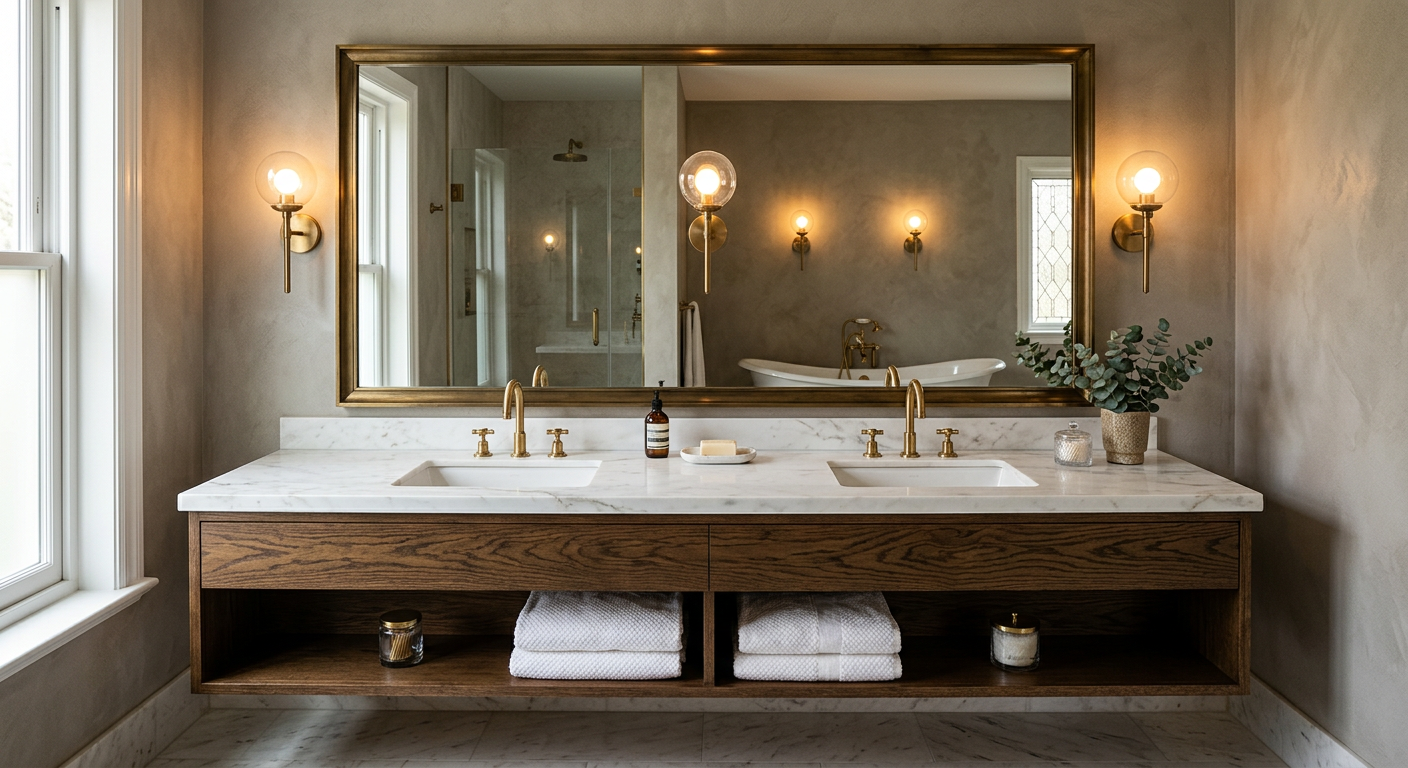
Double Vanities
If your master bathroom has the space, a 60-inch to 72-inch double vanity with quartz countertop runs $2,500-$5,000 installed. Two sinks. Two mirrors. Two people can get ready at the same time without conflict. Buyers in the $500,000+ home range in Puyallup expect a double vanity in the master bath.
Smart Features
Backlit mirrors ($400-$1,200) eliminate the need for separate vanity lighting and create a clean, modern look. Motion-sensor nightlights ($100-$300) in the toe kick are practical for middle-of-the-night trips. Smart shower valves with temperature presets ($600-$1,500) let you dial in your exact temperature before you step in.
Accessibility and Aging in Place
This is a conversation I have with clients more and more often. Not because they need accessibility features today, but because they want to stay in their home for the next 20-30 years and don’t want to remodel the bathroom again.
Building accessibility features into a remodel costs a fraction of retrofitting later. Here’s what I recommend:
Curbless shower entry. A zero-threshold shower eliminates the step that becomes a tripping hazard with age. It also looks modern and clean. Building a curbless shower during a remodel adds $1,500-$3,000 to the project. Retrofitting an existing shower for curbless entry costs $8,000-$15,000 because you have to rip everything out and redo the waterproofing and drainage.
Blocking in the walls for future grab bars. Even if you don’t install grab bars today, having solid wood blocking behind the drywall means you can add them later with just a drill and 20 minutes. Adding blocking during a remodel costs $200-$400. Tearing into a finished wall to add it later costs $1,000+.
Comfort-height toilet. ADA-height toilets (17-19 inches vs. the standard 15) are easier for everyone, not just people with mobility issues. A quality comfort-height toilet installed costs $450-$900. There’s no reason not to install one during a remodel.
Wider doorways. Standard bathroom doors are 24-28 inches wide. Wheelchair access requires 32 inches minimum, 36 preferred. Widening a door during a remodel adds $300-$800. Doing it after the bathroom is finished costs $1,500-$3,000.
My full guide on aging-in-place bathroom remodeling covers every feature, cost, and planning consideration in detail.
PNW Moisture: The Hidden Enemy in Every Bathroom
This section matters more than any tile selection or vanity choice. Living in the Pacific Northwest means moisture is a constant presence, and your bathroom is ground zero.
I’ve pulled tile off shower walls in Pierce County homes and found black mold growing on studs that were completely rotted through. The homeowner had no idea. The tile looked fine. The grout looked fine. But behind that wall, moisture had been seeping through failed waterproofing for years, quietly destroying the framing.
Why Waterproofing Is the Most Important Line Item
When I bid a bathroom remodel, waterproofing is never optional and never reduced to save budget. I use Schluter Kerdi membrane or a liquid-applied waterproofing system on every single shower. Full coverage. Curb to ceiling. The cost runs $800-$1,500 for materials and labor.
Here’s why it matters: a shower that leaks destroys everything around it. The framing. The drywall. The subfloor. The ceiling below (if it’s a second-floor bathroom). A waterproofing failure that goes undetected for 2-3 years can cause $10,000-$20,000 in structural damage. The $1,000 you spend on proper waterproofing prevents all of it.
Ventilation: Don’t Skip This
Every bathroom remodel I do includes a high-quality exhaust fan. I install Panasonic WhisperFit units on most projects because they’re quiet (less than 1.0 sone) and they actually move air. The cost is $300-$600 installed.
In the PNW, proper ventilation isn’t optional. Our ambient humidity is already high. Add shower steam and you’ve created perfect conditions for mold. The exhaust fan needs to vent to the outside (not into the attic), and it needs to run for at least 20 minutes after every shower. A humidity-sensing switch that turns the fan on automatically costs an extra $50-$100 and eliminates the human factor entirely.
Areas to Inspect Before You Remodel
If your bathroom is more than 15 years old, check these areas before committing to a cosmetic refresh. If any of these show problems, you’re looking at a more involved project:
- Behind the shower valve (access panel on the back side of the wall)
- Under the toilet (look for discoloration or soft spots in the floor)
- Around the base of the tub or shower (caulk failure lets water into the subfloor)
- The ceiling below a second-floor bathroom (water stains are a clear signal)
- Along exterior walls (condensation and poor insulation cause hidden moisture)
Finding these issues before you start is better than finding them during demo. At least you can budget for the repair upfront instead of facing a surprise mid-project.
The Remodeling Process: Week by Week
Knowing what to expect reduces stress. Here’s how a typical mid-range bathroom remodel unfolds:
Week 1: Demo. Everything old comes out. Tile, drywall, vanity, toilet, tub or shower, flooring. The room gets stripped to studs and subfloor. This is also when we discover what’s hiding behind the walls. If there’s moisture damage or outdated plumbing, we address it here.
Week 2: Rough work. Plumbing modifications, electrical updates (GFCI outlets, exhaust fan, lighting circuits, heated floor circuit if applicable), and any structural repairs. An inspector visits to verify everything meets code before we close up the walls.
Week 3: Waterproofing and tile prep. Cement board goes up. Waterproofing membrane gets applied in the shower. Heated floor mat gets installed if included. This is all foundation work that has to be right.
Weeks 3-4: Tile installation. Shower walls and floor first, then bathroom floor. A standard shower takes 3-5 days of tile work depending on the pattern and material. Complex layouts with niches, accent bands, and multiple materials take longer.
Week 5: Vanity, fixtures, and glass. The vanity and countertop go in. Faucet, toilet, shower trim, and accessories get installed. Frameless glass gets templated (or installed if pre-ordered to fit).
Week 6: Finishing. Paint, baseboard, door trim, caulking, mirror, and final hardware. Glass shower door goes in if it was templated during week 5. Final cleanup and walk-through with the homeowner.
After walk-through: Punch list. I walk every project personally with the homeowner. We note anything that needs adjustment. A hinge that sticks. A grout line that needs touch-up. A caulk bead that’s not perfect. Everything gets fixed before the project is officially complete.
Surviving the Remodel
If you only have one bathroom, this is a real challenge. Here’s how my clients handle it:
One-bathroom homes: I prioritize getting the toilet and a functional shower back online as fast as possible. Usually within 7-10 days of demo start, we can have a temporary shower situation working even while finish work continues. Some clients shower at a gym, a friend’s house, or a family member’s home for the first week. It’s inconvenient but manageable.
Two-bathroom homes: Much easier. We close off the one being remodeled and you use the other. The dust and noise are still real, but at least you have full facilities.
Plan ahead. Stock up on toiletries in your temporary space. Set expectations with your family. The inconvenience is temporary. The result lasts 20+ years.
Frequently Asked Questions
How long does a bathroom remodel take in Puyallup?
A cosmetic refresh takes 1-2 weeks. A mid-range full remodel takes 4-6 weeks. A high-end master bathroom takes 6-10 weeks. Adding a new bathroom where one doesn’t exist takes 8-12 weeks. These timelines assume materials are ordered and delivered before construction starts. Add 2-4 weeks to any timeline for an older home with surprises behind the walls.
Do I need a permit for a bathroom remodel?
In Puyallup, yes, if you’re changing plumbing, electrical, or structure. A cosmetic refresh (new vanity, paint, mirror, fixtures swapped at the same locations) typically doesn’t require a permit. Your contractor should handle the permit process. Plan on $300-$800 in permit fees for a standard bathroom remodel.
Can I DIY a bathroom remodel?
You can do cosmetic work yourself: painting, replacing a vanity on existing plumbing, swapping light fixtures, installing a new mirror. But plumbing, electrical, waterproofing, and tile work require either professional skill or the willingness to learn from expensive mistakes. Waterproofing especially. A DIY shower that leaks will cost you far more in damage repair than the labor you saved.
What bathroom upgrades add the most value?
Updated vanity with quartz countertop, new tile shower (especially if converting from a tub), frameless glass, modern fixtures, and proper lighting. In our market, buyers expect clean, modern bathrooms. An outdated bathroom with pink tile and a brass-framed mirror is one of the top buyer objections in the $400,000-$600,000 price range.
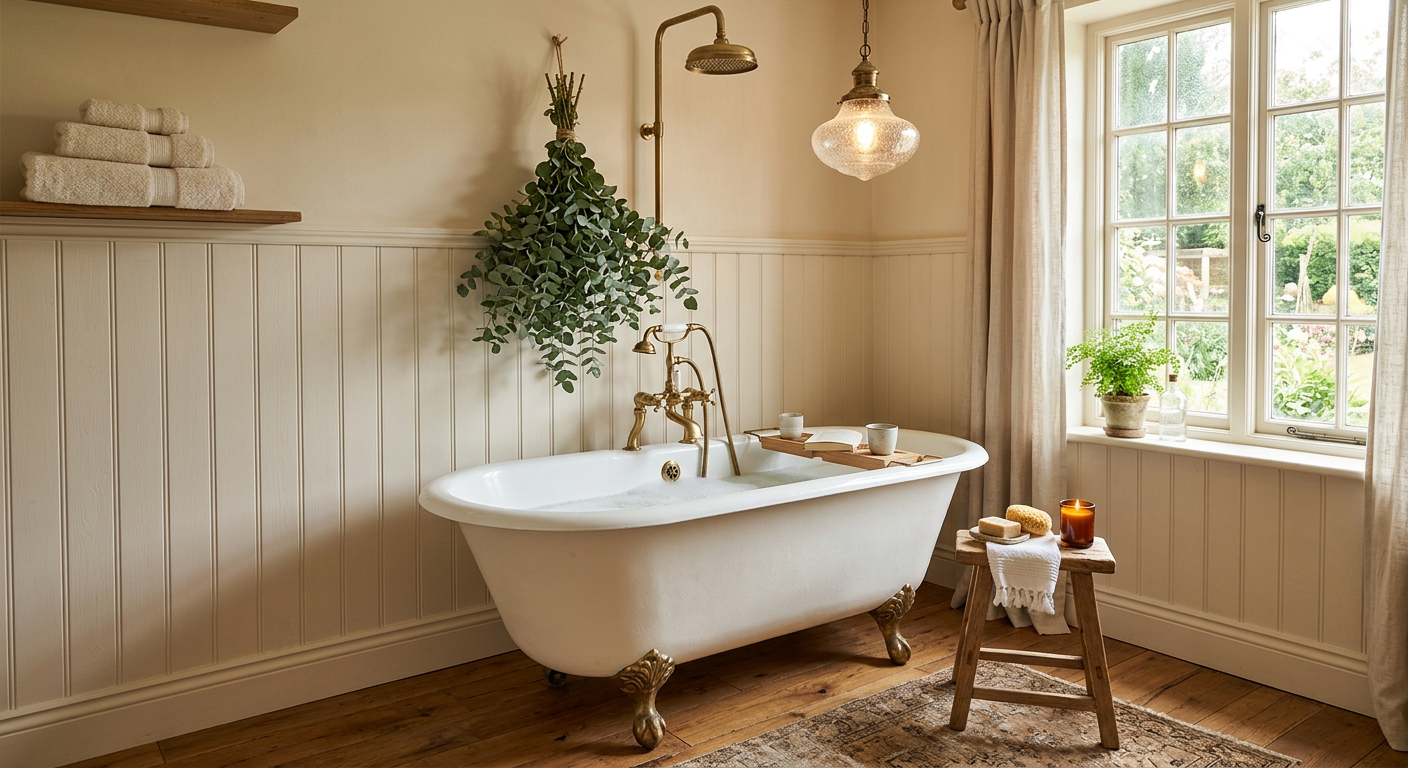
Should I keep or remove my bathtub?
Keep at least one bathtub in the house. Families with young children need them, and not having any tub limits your buyer pool. But in a master bathroom, converting the tub to a walk-in shower is almost always the right call. Most adults don’t use the master bath tub. A shower gives you more space, a more modern look, and better resale appeal.
Let’s Talk About Your Bathroom
I give every potential client a free, no-pressure consultation. I’ll look at your current bathroom, talk through what you want, and give you honest numbers for your specific project. No sales pressure. Just straight answers from someone who has remodeled hundreds of bathrooms in this area.
Call me at (253) 392-9266 or reach out through our contact page. I’ll get back to you within one business day.
Brad Zemke, Owner Pacific Remodeling LLC Puyallup, WA